Lorem ipsum dolor sit amet, consectetuer adipiscing elit. Aenean commodo ligula eget dolor. Aenean massa. Cum sociis natoque penatibus et magnis dis parturient montes, nascetur ridiculus mus. Donec quam felis, ultricies nec, pellentesque eu, pretium quis, sem. Nulla consequat massa quis enim.
Adjust straps to a comfortable length. Straps shouldn’t leave a red mark. If straps slip off your shoulder, either tighten straps or go down a band size.
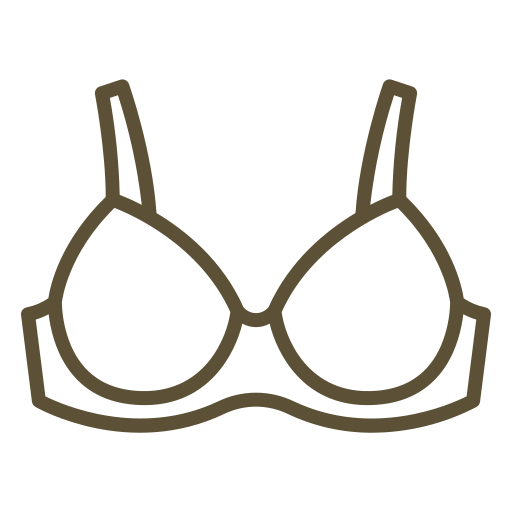
The wires should lie flat against your rib cage, with no gaping or wrinkling (cup too large) or bulging over the top, bottom, or sides (cup too small).
Bra Adjustment
Sizing Up and Down
Bra style and materials can all affect which size has the perfect fit.
Understanding your sister sizes can help.
01
Band Fits But Not Cups Change Cup Size Only
To get a smaller cup go down a cup size. Do not change band size.
02
Cups Fits But Not Band Change Band Size Only
To get a smaller band go down a band size but up a cup size.
03
Neither Cups Or Band Fits Change Both
To change both one size, changing your back size but maintaining cup size. This will actually also change the physical cup size as well.
First check straps are not too tight. Decrease band size until it sit horizontally around the body, the back should be the same level as the front in the mirror.